🔍 Understanding Why Furniture Becomes Loose
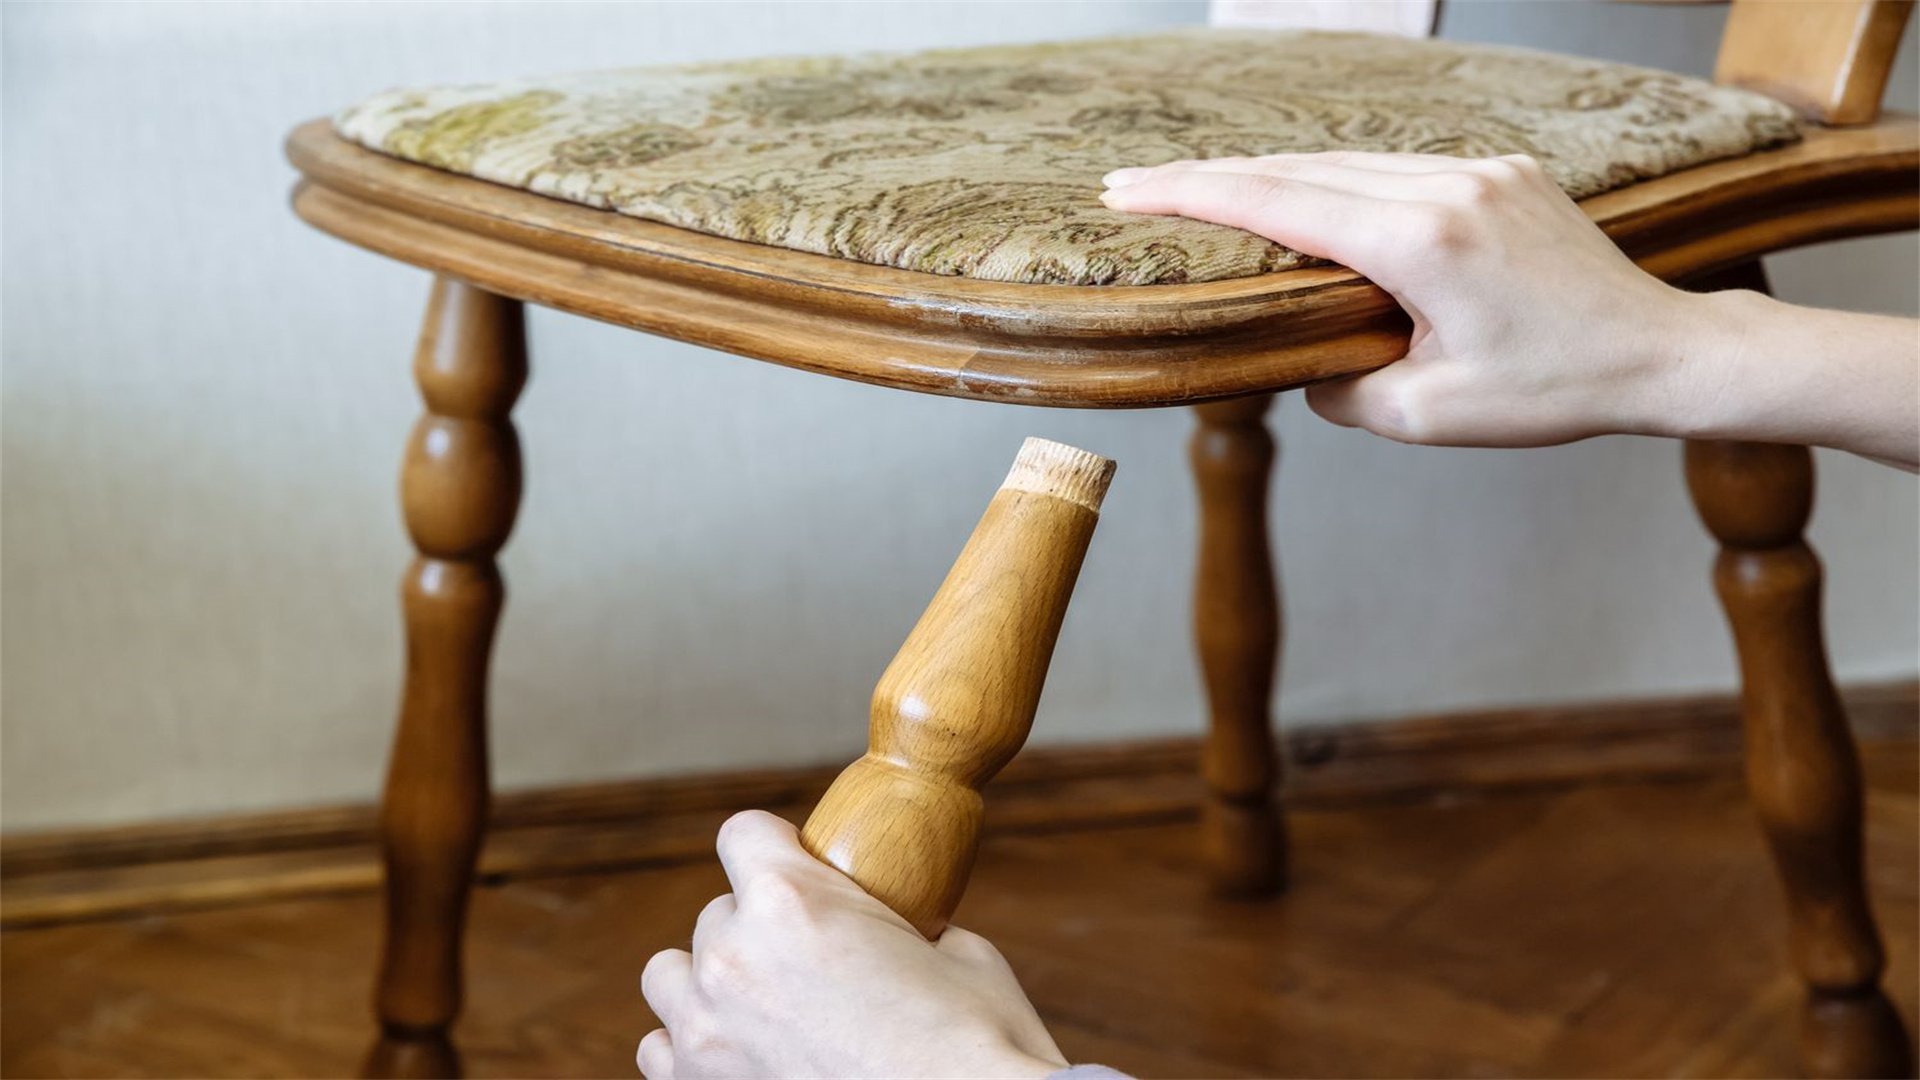
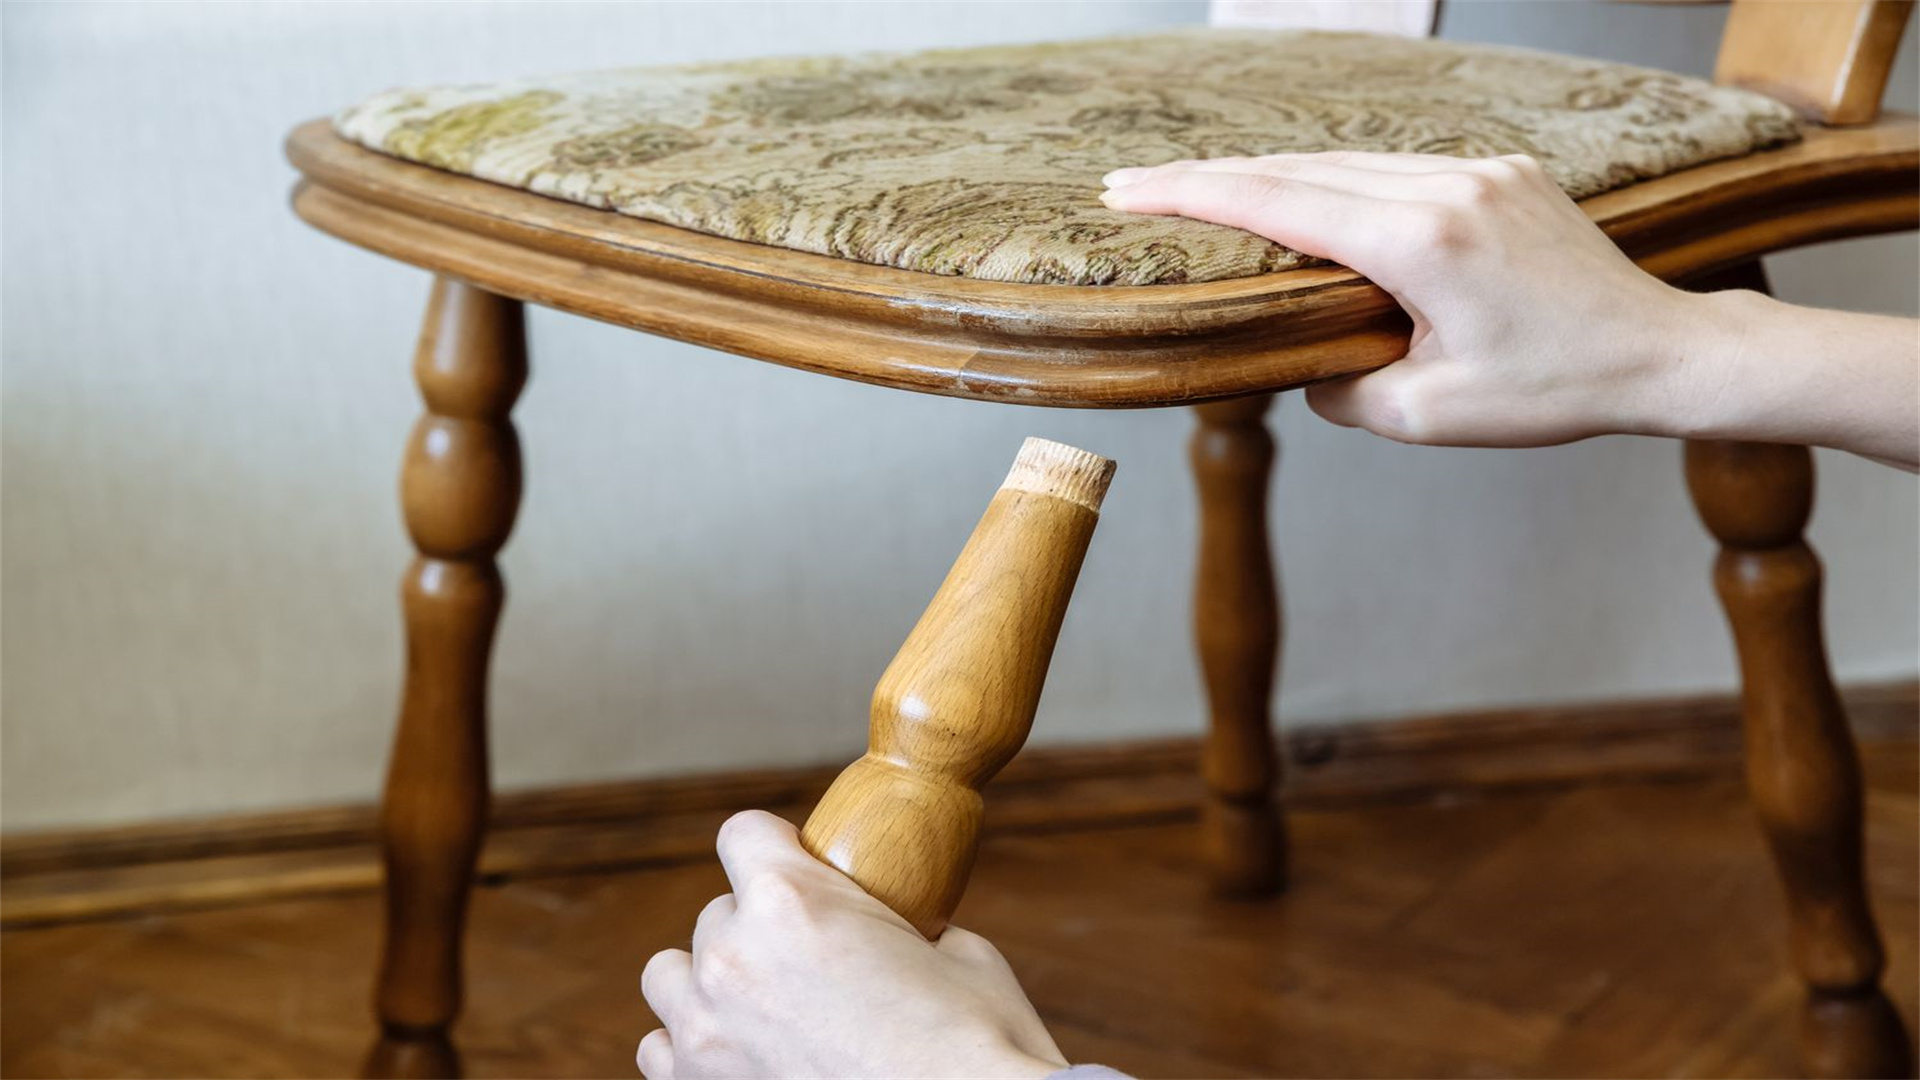
Before diving into repairs, it's essential to understand the root causes of loose furniture. This knowledge helps in addressing the problem effectively and preventing recurrence. Common reasons include:
1. Daily Wear and Tear
Frequent use, such as sitting, leaning, or moving furniture, puts stress on joints and fasteners. Over time, this can cause:
- Screws to back out.
- Wood to compress.
2. Environmental Factors
Changes in humidity and temperature can cause wood to expand and contract, leading to loose joints. For example:
- In dry conditions, wood may shrink, creating gaps.
- High humidity can cause swelling, weakening joints.
3. Poor Initial Construction
Some furniture is made with low-quality materials or inadequate fastening techniques, making it prone to loosening quickly.
4. Age and Material Degradation
Older furniture may experience:
- Glue that has dried out.
- Metal parts that have corroded.
5. Improper Handling
Moving furniture without care can:
- Knock components out of alignment.
- Stress joints.
By recognizing these factors, you can tailor your repair approach. For instance, if humidity is an issue, consider using moisture-resistant adhesives or reinforcements.
🛠️ Essential Tools and Materials for the Job
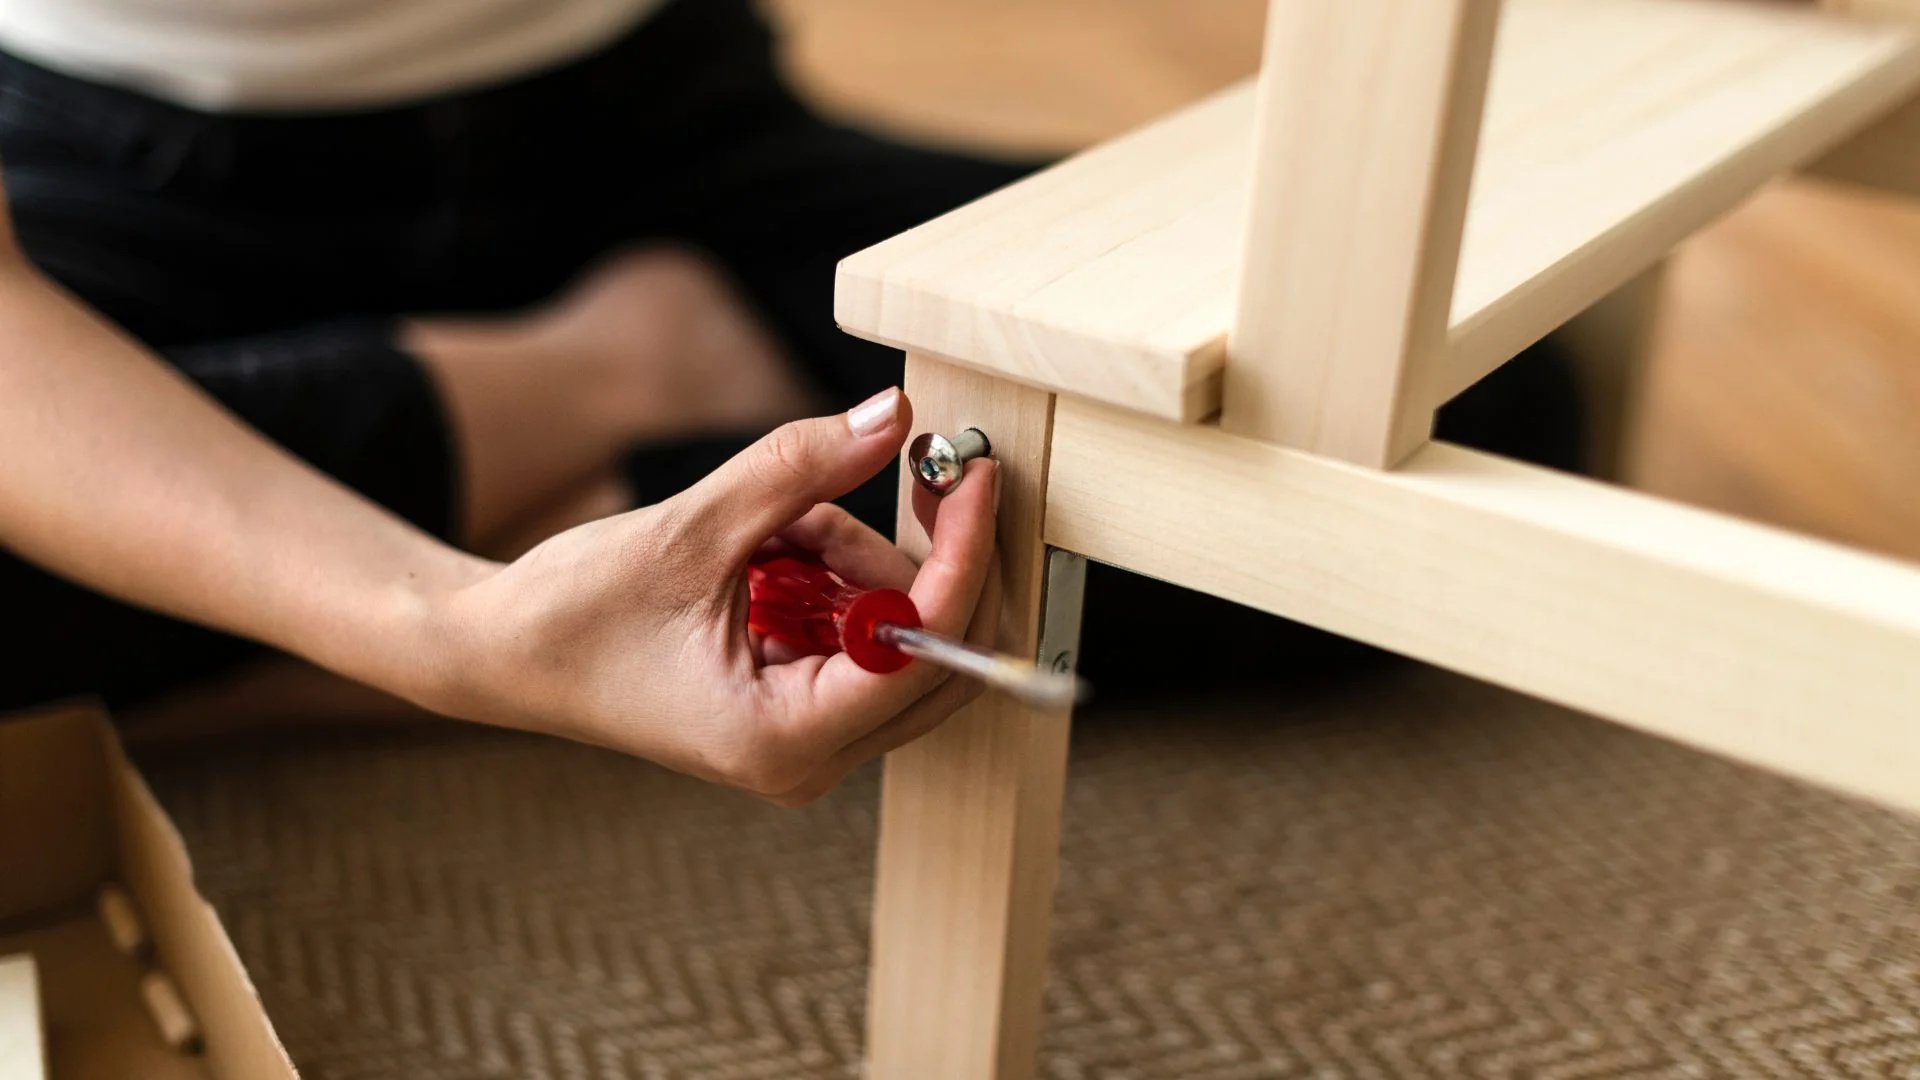
Having the right tools on hand is crucial for efficient repairs. Here's a comprehensive list, based on recommendations from DIY websites like This Old House and Bob Vila:
Tool and Material List
- Screwdrivers: Both flat-head and Phillips-head screwdrivers in various sizes. For precision work, consider a multi-bit screwdriver set.
- Wrenches: Adjustable wrenches or socket sets for tightening nuts and bolts. A hex key set (Allen wrenches) is also useful for furniture with hex screws.
- Hammer: A lightweight hammer for tapping parts into place or driving nails. Use a rubber mallet to avoid damaging surfaces.
- Wood Glue: High-quality wood glue, such as PVA or polyurethane glue, for reinforcing joints. Ensure it's suitable for your furniture material.
- Clamps: Bar clamps or C-clamps to hold pieces together while glue dries. They provide even pressure for a secure bond.
- Sandpaper: Fine-grit sandpaper (e.g., 120-220 grit) for smoothing rough edges or preparing surfaces for glue.
- Replacement Hardware: Extra screws, bolts, washers, and brackets. Keep a variety of sizes to match existing hardware.
- Dowel Pins or Biscuits: For reinforcing loose joints in wood furniture, especially chairs and tables with dowel construction.
- Safety Gear: Safety glasses to protect eyes from debris, and gloves to prevent splinters or cuts.
- Cleaning Supplies: A soft cloth and mild cleaner to remove dirt and old adhesive from joints before repair.
Invest in quality tools—they last longer and make the job easier. Many of these items are affordable and available at hardware stores or online retailers.
⚠️ Safety Precautions Before Starting
Safety should always come first when working with tools and furniture. Follow these guidelines to avoid injuries:
Safety Guidelines
- Work in a Well-Ventilated Area: If using adhesives or solvents, ensure proper airflow to avoid inhaling fumes.
- Wear Protective Gear: As mentioned, use safety glasses and gloves. For sanding, consider a dust mask to prevent inhalation of particles.
- Secure the Furniture: Place chairs and tables on a stable, flat surface to prevent tipping during repair. Use non-slip mats if needed.
- Disconnect Power Tools: If using electric drills or sanders, unplug them when not in use to avoid accidental starts.
- Handle Sharp Tools Carefully: Keep blades and pointed tools away from children and pets. Store them safely after use.
- Read Product Labels: For adhesives and finishes, follow manufacturer instructions for safe application and disposal.
- Take Breaks: Long repairs can be tiring; pause periodically to maintain focus and prevent strain.
By prioritizing safety, you ensure a smooth and accident-free repair process.
🪑 Step-by-Step Guide to Tightening Loose Chairs
Chairs come in various types—wooden, metal, upholstered, folding—so the approach may vary. Here, we break down general steps and specific techniques.
General Inspection and Assessment
Start by examining the chair to identify loose parts. Steps include:
- Sit on it gently and note any wobbles or creaks.
- Check legs, seats, backs, and arms.
- Look for visible gaps, loose screws, or cracked joints.
- Mark problematic areas with tape or a pencil for easy reference.
Tightening Wooden Chairs
Wooden chairs often have dowel, mortise-and-tenon, or screw joints. For a common dining chair:
- Disassemble if Necessary: If the chair is severely loose, carefully disassemble it by removing screws or gently tapping joints apart. Label parts to remember reassembly order.
- Clean Joints: Use a cloth to wipe away dirt and old glue from mating surfaces. Light sanding can improve adhesion for new glue.
- Apply Wood Glue: Squeeze a small amount of wood glue into the joint. Spread evenly with a brush or stick. Avoid excess glue to prevent mess.
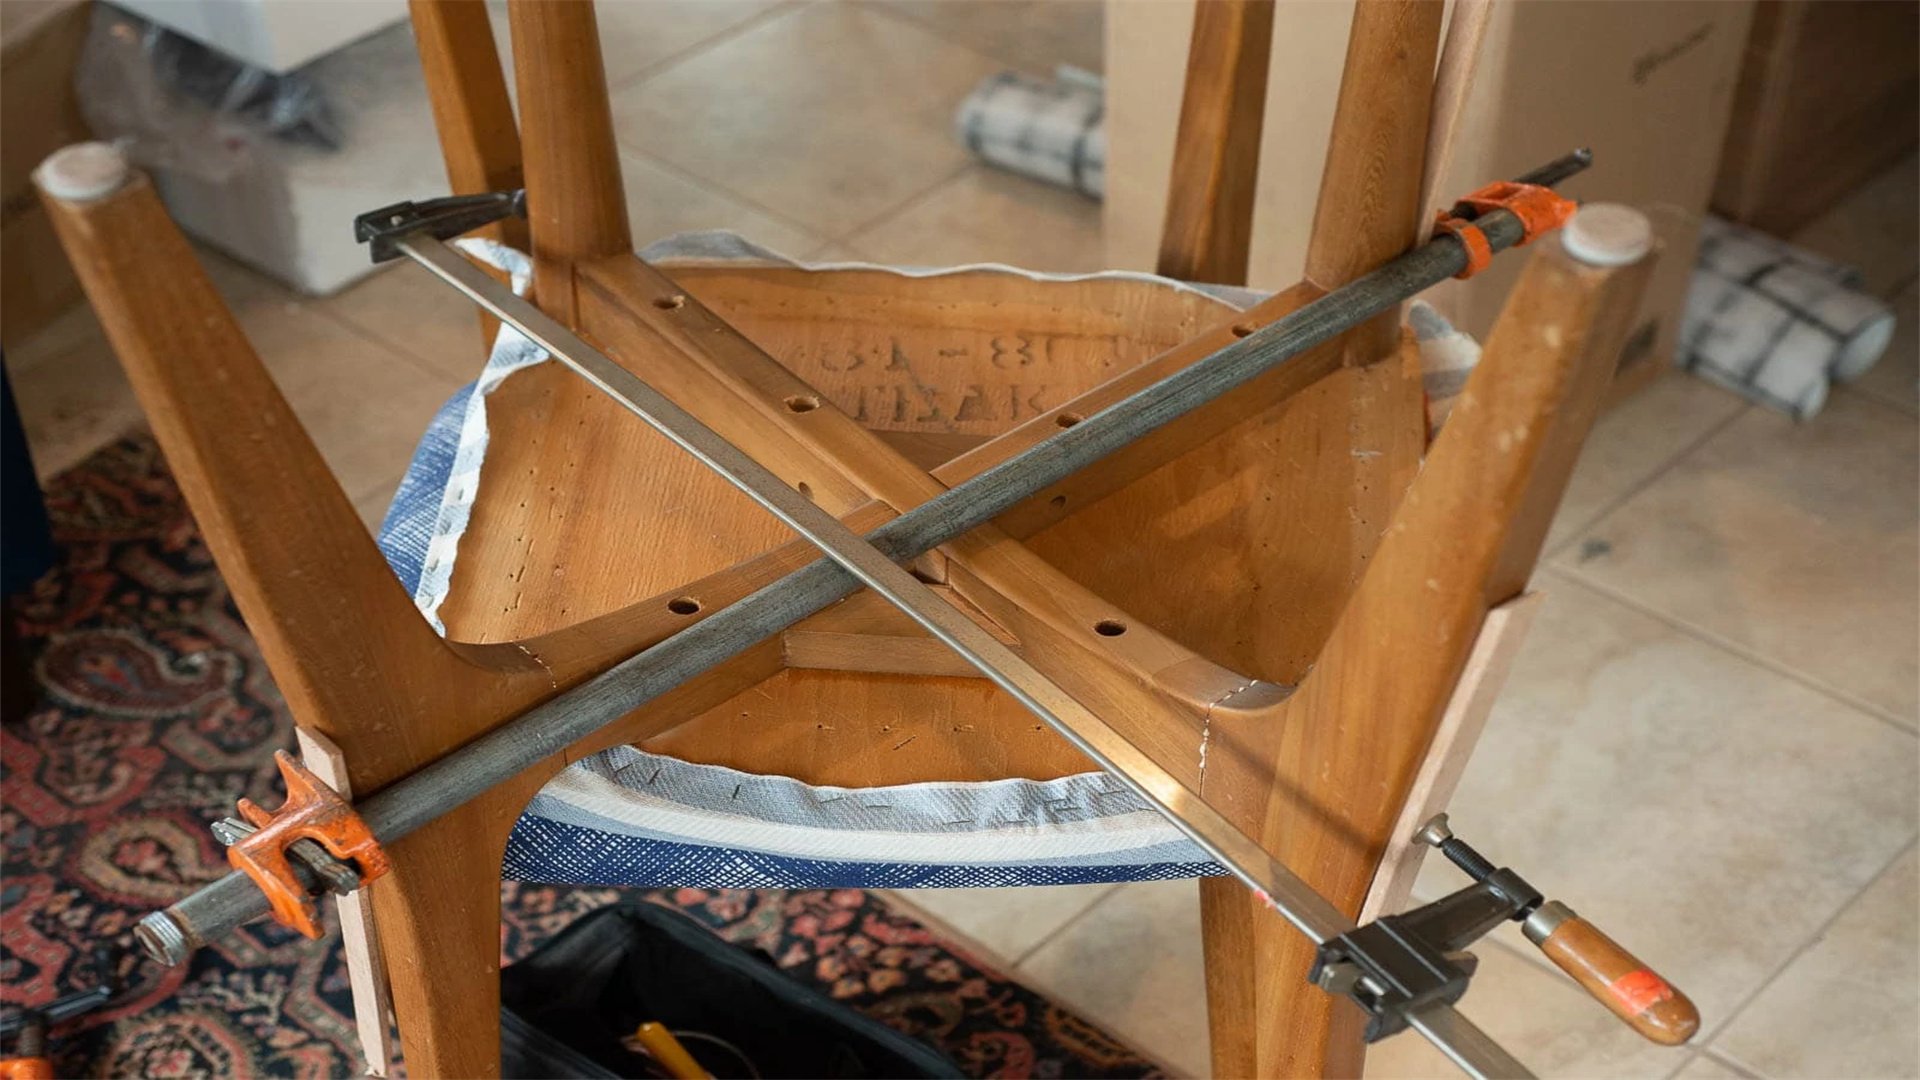
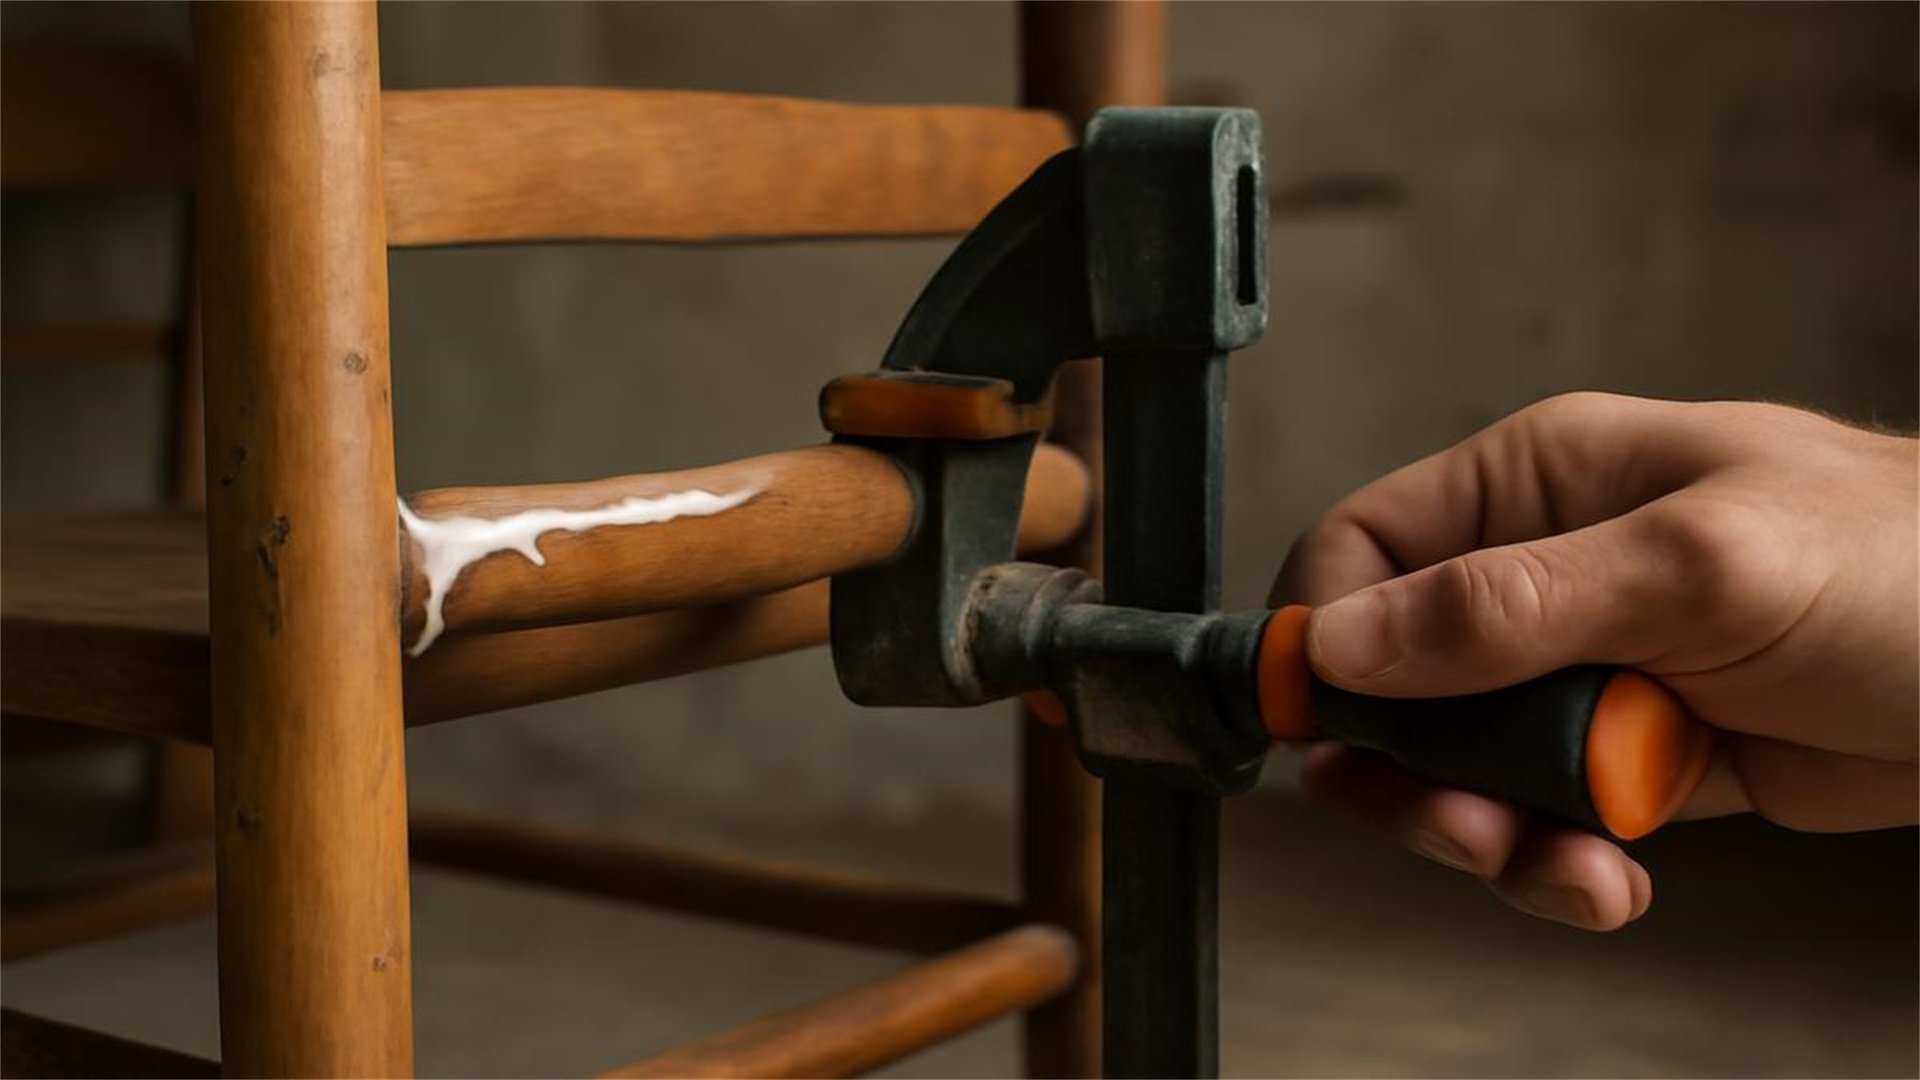
- Reassemble and Clamp: Fit the parts back together, aligning precisely. Use clamps to hold the joint tightly. Wipe off any squeezed-out glue with a damp cloth.
- Let Glue Dry: Follow the glue's drying time—usually 24 hours for full strength. Keep the chair in a stable position during this period.
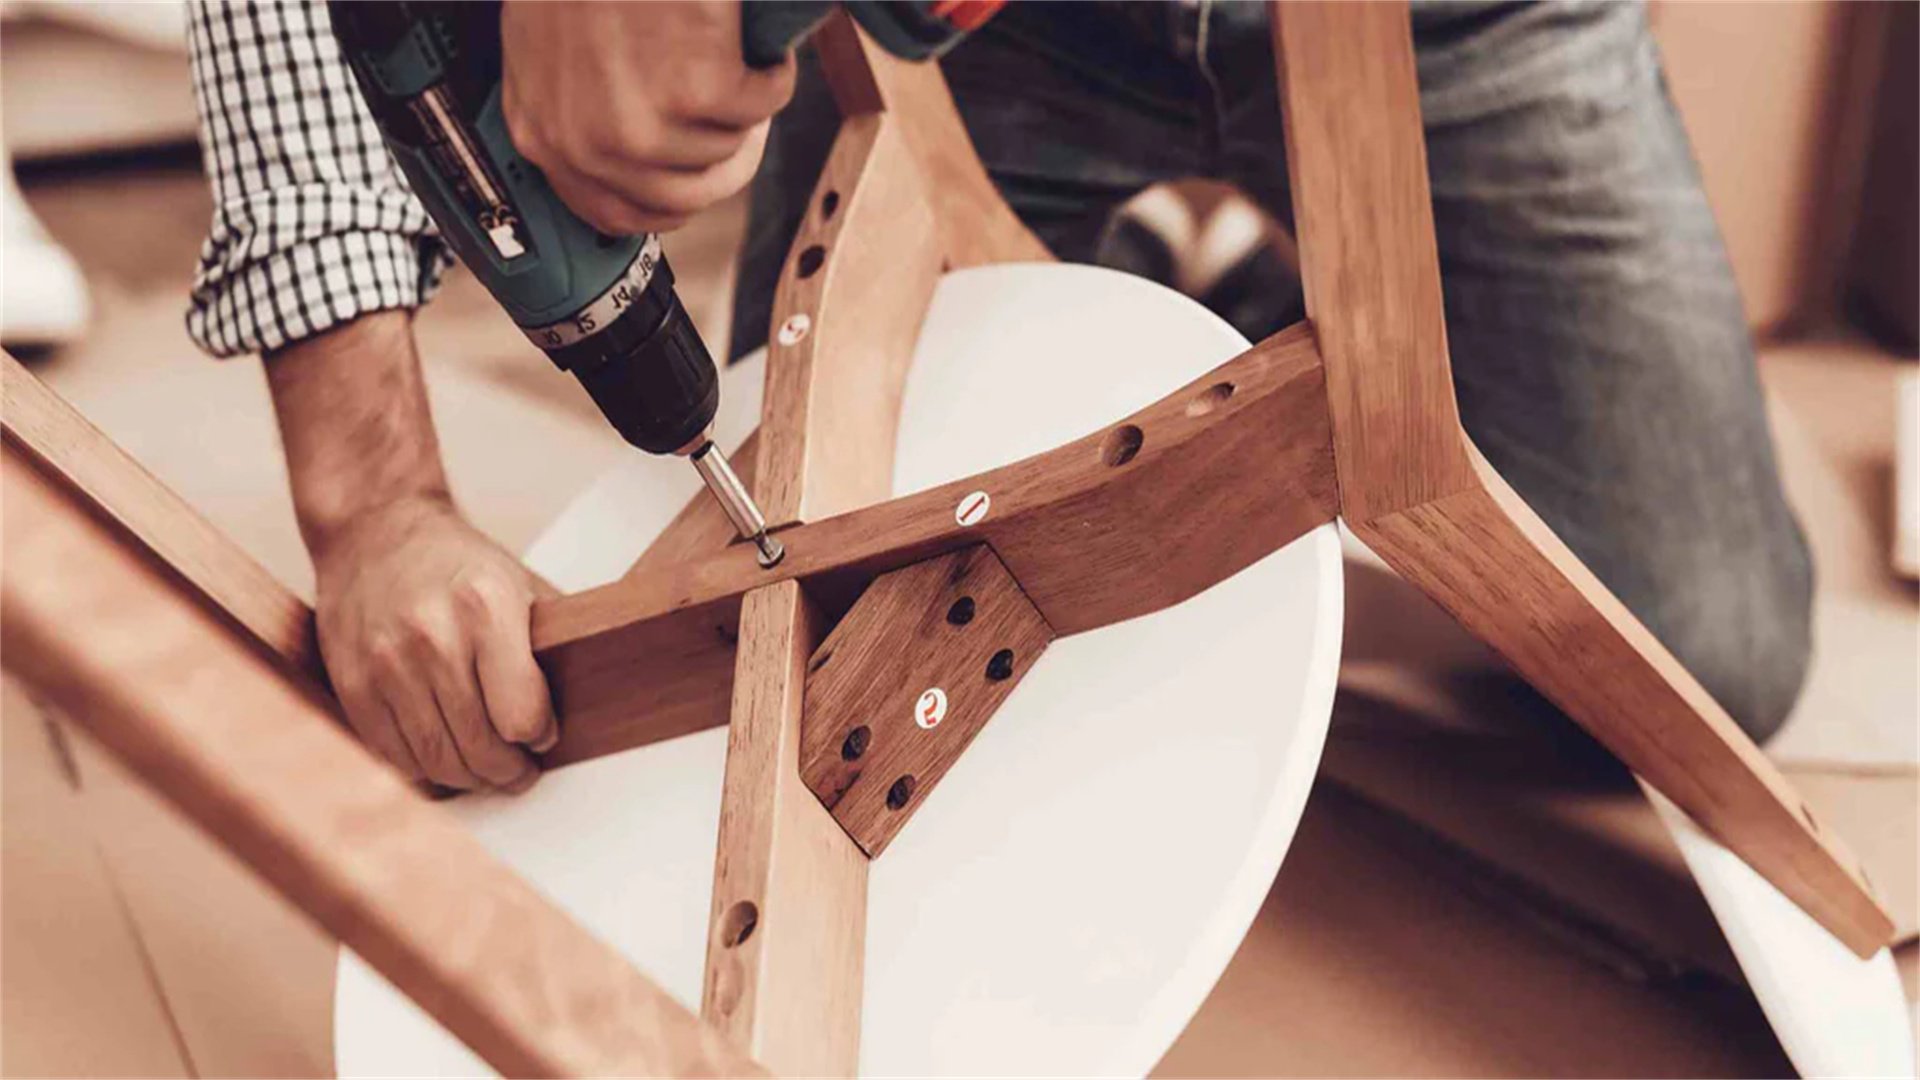
- Reinforce with Screws or Dowels: For extra strength, drill pilot holes and insert screws or dowel pins. Countersink screws if needed for a flush finish.
- Final Check: Once dry, test the chair for stability. Sand any rough spots and apply finish if desired.
Tightening Metal Chairs
Metal chairs typically use bolts, nuts, or welds. For loose bolts:
- Identify Fasteners: Locate all nuts and bolts. Use a wrench or socket set to tighten them clockwise. If they're stripped, replace with new hardware.
- Check Welds: If welds are cracked, consider professional welding or use a metal epoxy as a temporary fix. For DIY, clean the area and apply epoxy per instructions.
- Lubricate Threads: Apply a light lubricant like WD-40 to stubborn bolts to ease tightening, but avoid over-tightening which can strip threads.
- Add Lock Washers: To prevent future loosening, install lock washers under nuts. They provide tension to keep bolts secure.
Tightening Upholstered or Folding Chairs
For upholstered chairs, focus on the frame underneath the fabric. Steps include:
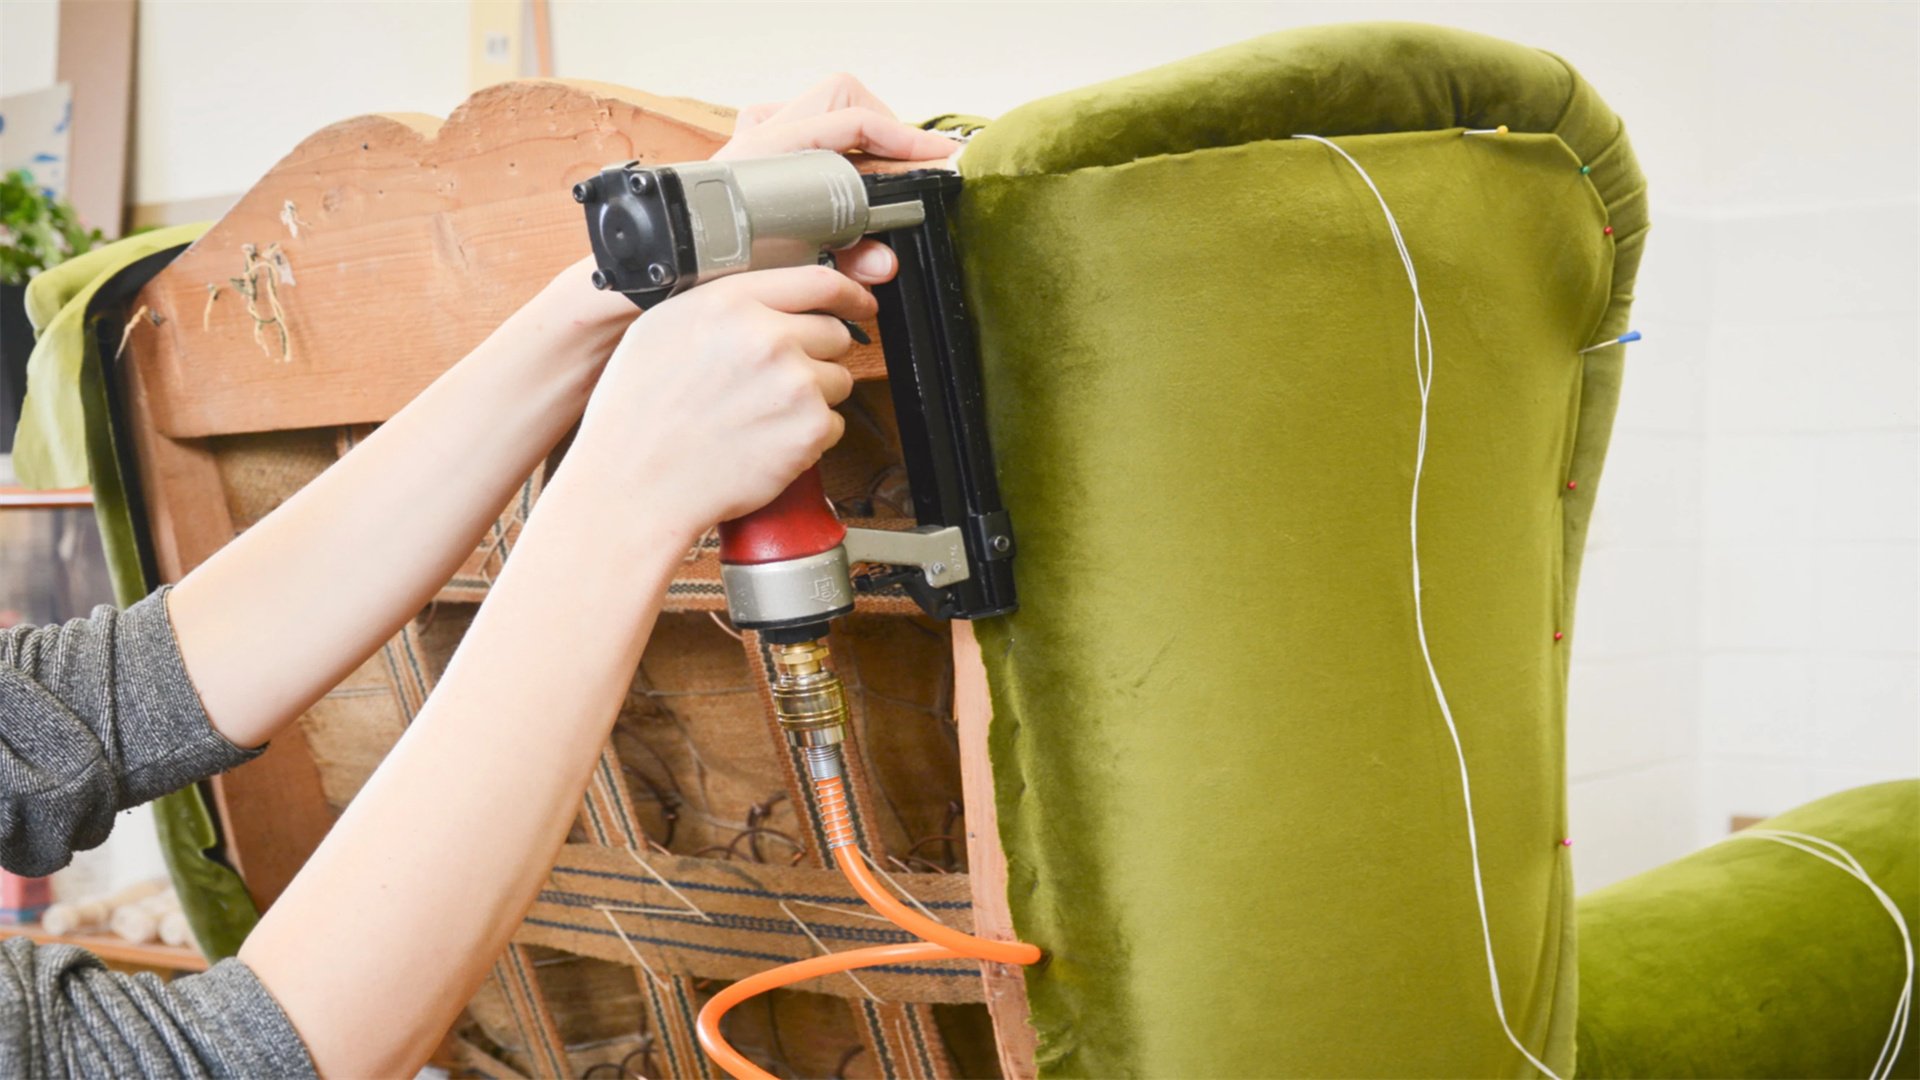
- Remove staples or fabric carefully to access joints.
- For folding chairs, hinge mechanisms often loosen—tighten screws or add locking pins.
- Always refer to manufacturer guidelines if available.
🚪 Step-by-Step Guide to Tightening Loose Tables
Tables, such as coffee tables, dining tables, and desks, have larger surfaces and more complex structures. Here's how to tackle common issues.
Assessing Table Stability
Place the table on a level floor and gently rock it to identify wobbles. Key checks:
- Check legs, aprons, stretchers, and fasteners.
- Use a level tool to see if the tabletop is even.
- Note any cracks or splits in wood.
Tightening Wooden Tables
Wooden tables often have leg assemblies attached with brackets or screws. For a typical table:
- Flip the Table: Carefully turn the table upside down on a soft surface to protect the top. This gives access to underside hardware.
- Tighten Existing Hardware: Use a screwdriver or wrench to tighten all screws, bolts, and brackets. Check corner braces and glue blocks—if loose, re-glue or replace.
- Reinforce Joints: For loose leg-to-apron joints, apply wood glue and clamp. Add corner brackets or L-brackets for extra support. Drill pilot holes to avoid splitting wood.
- Address Tabletop Issues: If the tabletop is loose from the base, reattach with screws or tabletop fasteners that allow wood movement. Avoid over-tightening which can cause warping.
- Let Repairs Cure: Allow glue to dry fully before flipping the table back. Test stability by applying pressure to various points.
Tightening Metal or Glass Tables
Metal tables may have welded frames or bolt-together parts. Steps:
- Tighten all bolts and inspect welds.
- For glass tables, ensure mounting hardware is secure—use rubber pads to prevent slippage.
- Avoid overtightening glass clamps to prevent cracking.
Dealing with Wobbly Legs
Wobbly legs are a common issue. Solutions include:
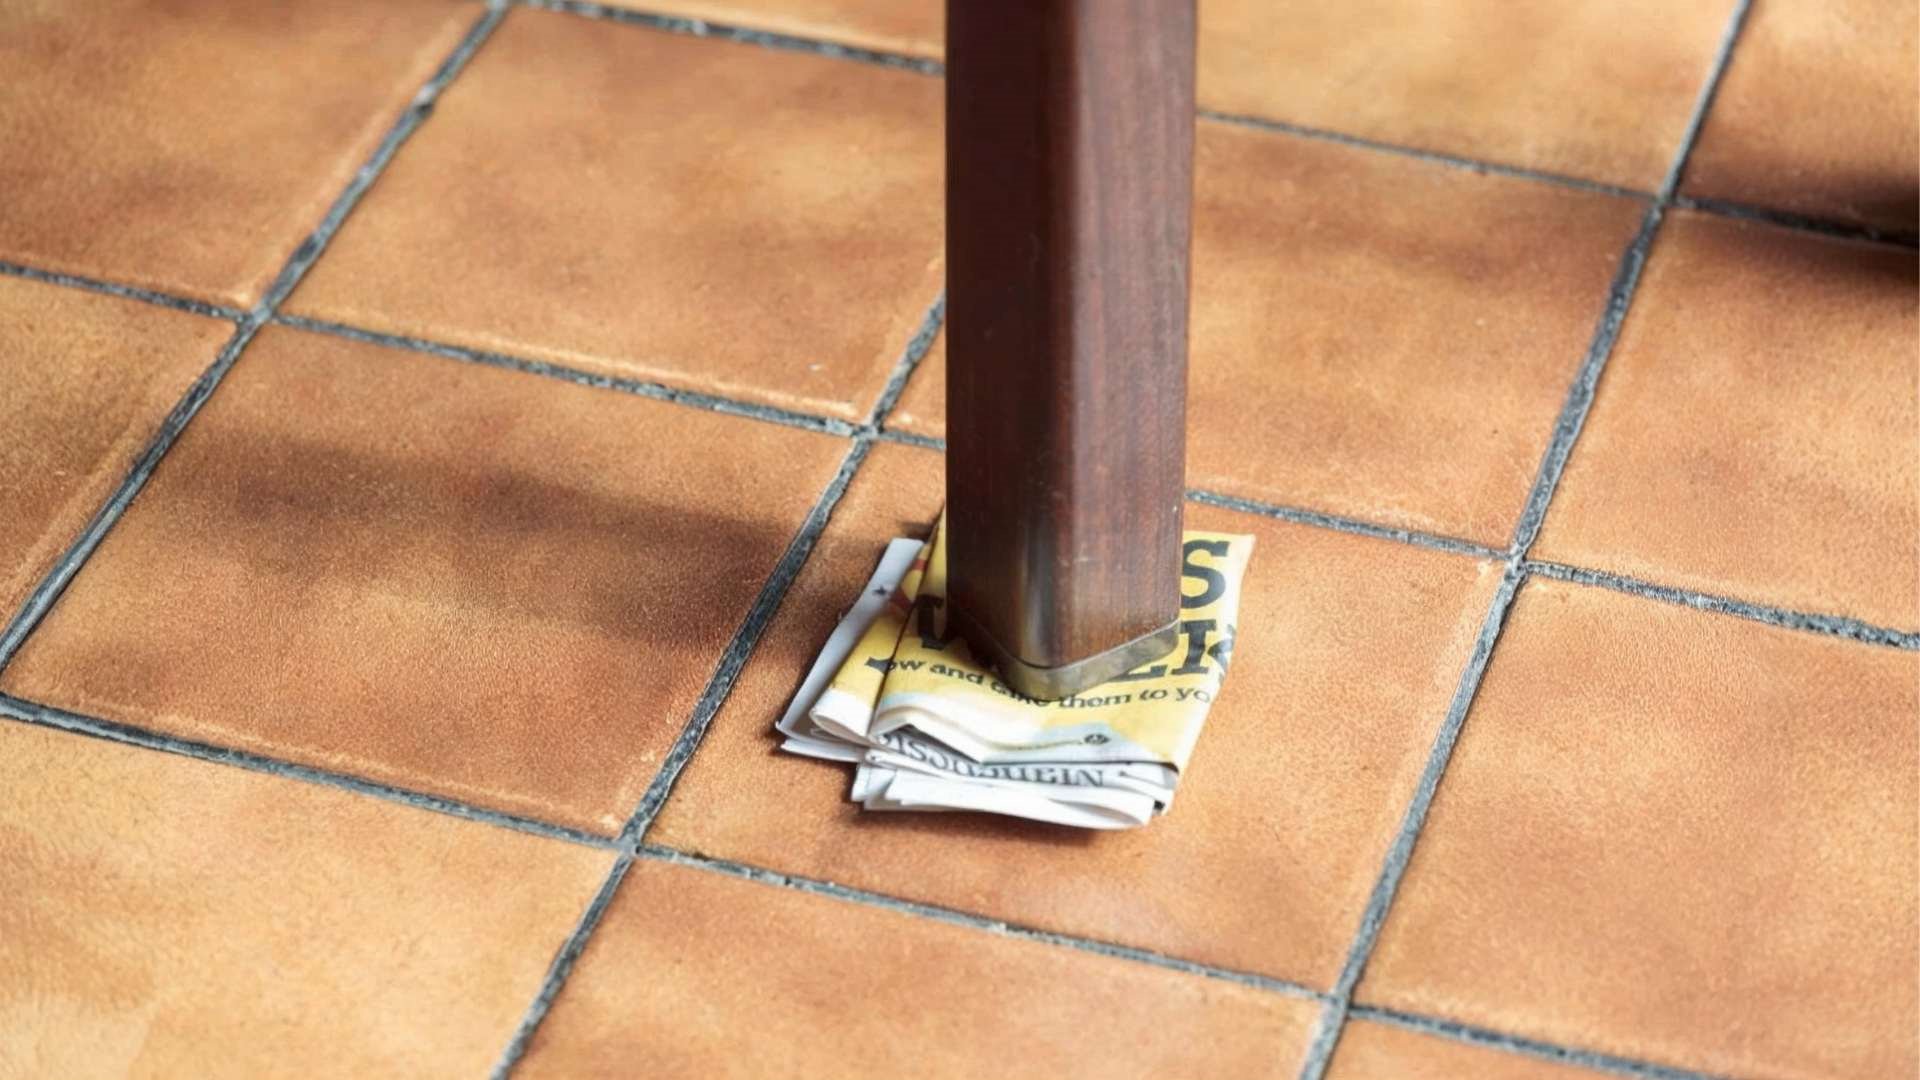
- Shimming: Insert thin shims (wood or plastic) between leg and floor to level the table. Glue in place for permanence.
- Adding Glides or Feet: Replace worn glides or add adjustable feet to compensate for uneven floors.
- Reinforcing with Plates: Attach metal mending plates across loose leg joints for added strength.
🔗 Specific Techniques for Different Joint Types
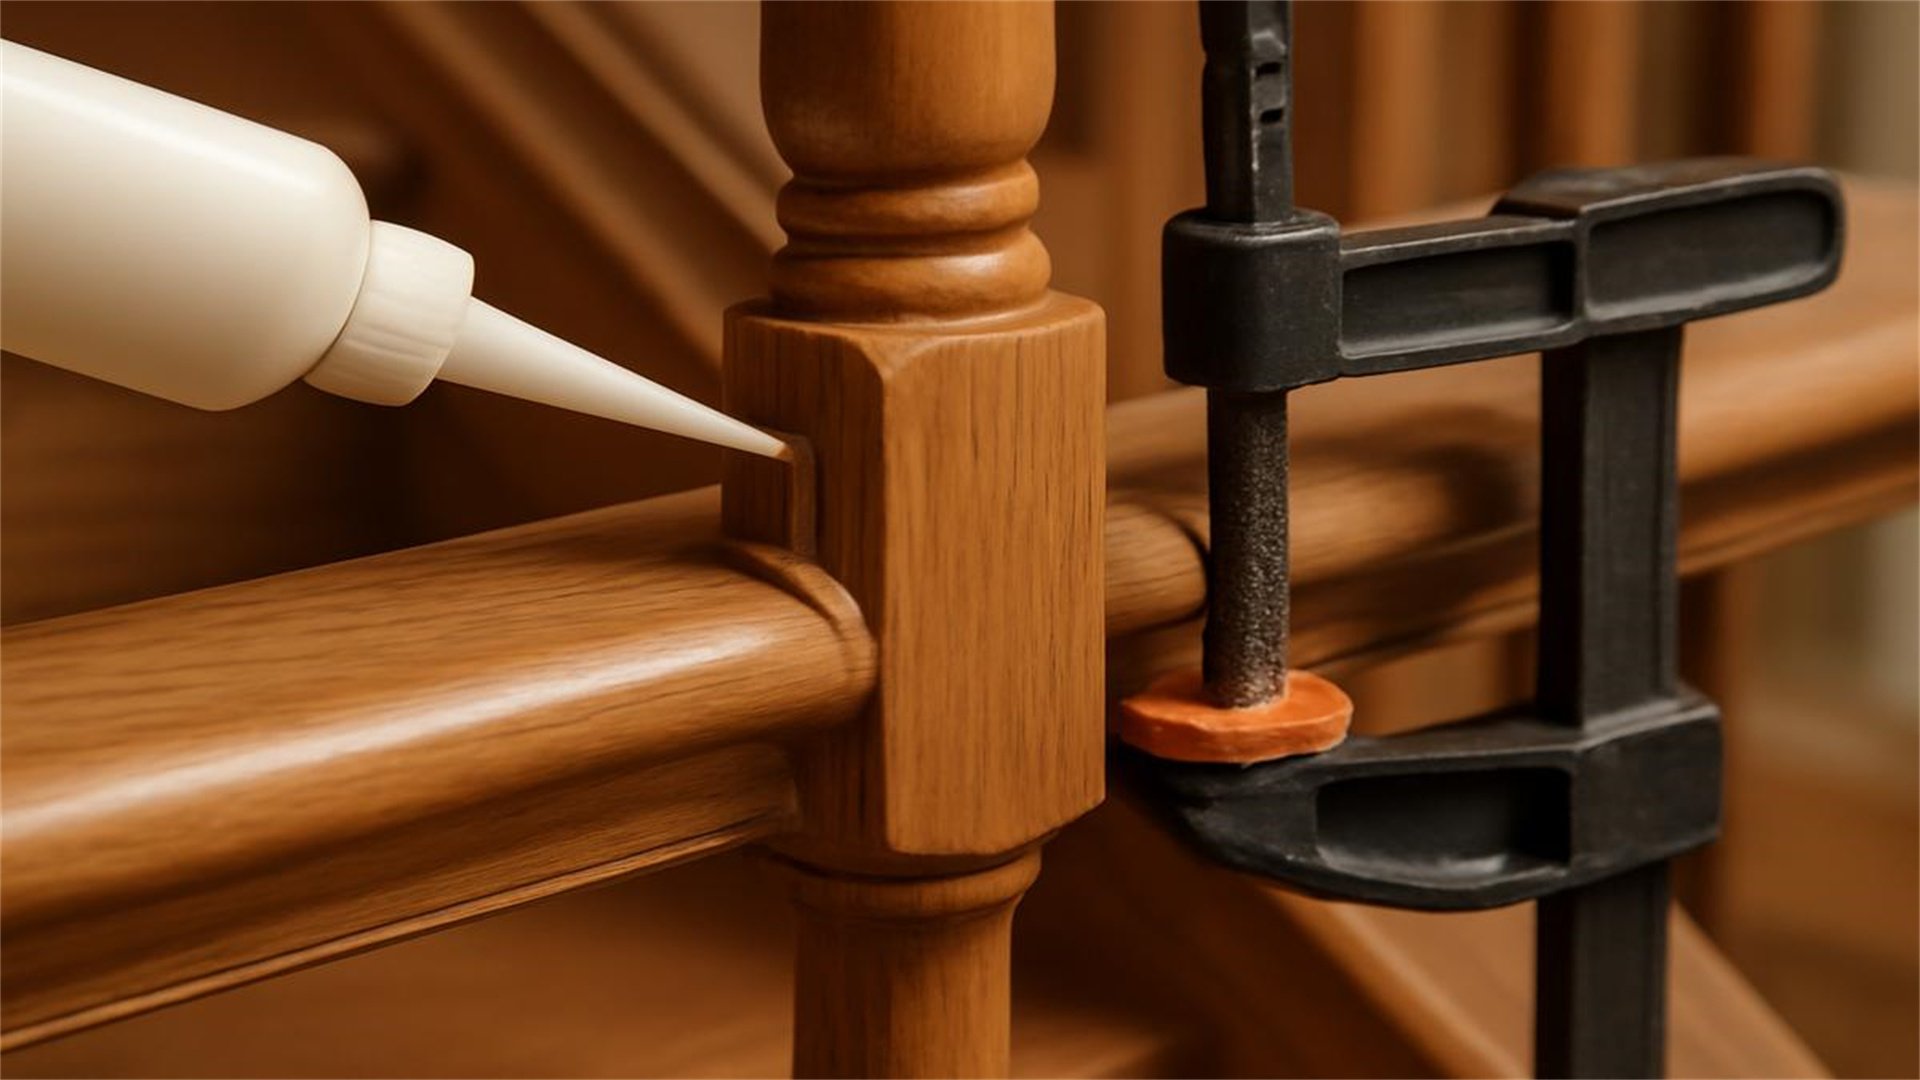
Understanding joint types enhances repair accuracy. Here are common furniture joints and how to tighten them:
Dowel Joints
Common in chairs and tables. If loose:
- Remove old dowels, clean holes, and apply glue to new dowels before inserting.
- Use clamps until dry.
- For extra hold, add screws through the dowel.
Mortise-and-Tenon Joints
Traditional woodworking joints. If loose:
- Disassemble, clean, and apply glue.
- Use a mallet to tap tenon into mortise.
- Clamp and let dry. If the tenon is worn, build it up with wood filler or replace.
Screw Joints
The simplest to fix. Steps:
- Tighten screws with a screwdriver.
- If screws spin without gripping, the hole may be stripped—fill with toothpicks and glue, or use a larger screw.
- For particle board, use specialty screws or inserts.
Bolt and Nut Joints
Typically in metal or knockdown furniture. Steps:
- Tighten with wrenches.
- Use thread-locking adhesive on bolts to prevent vibration loosening.
🧴 Using Adhesives and Reinforcements Effectively
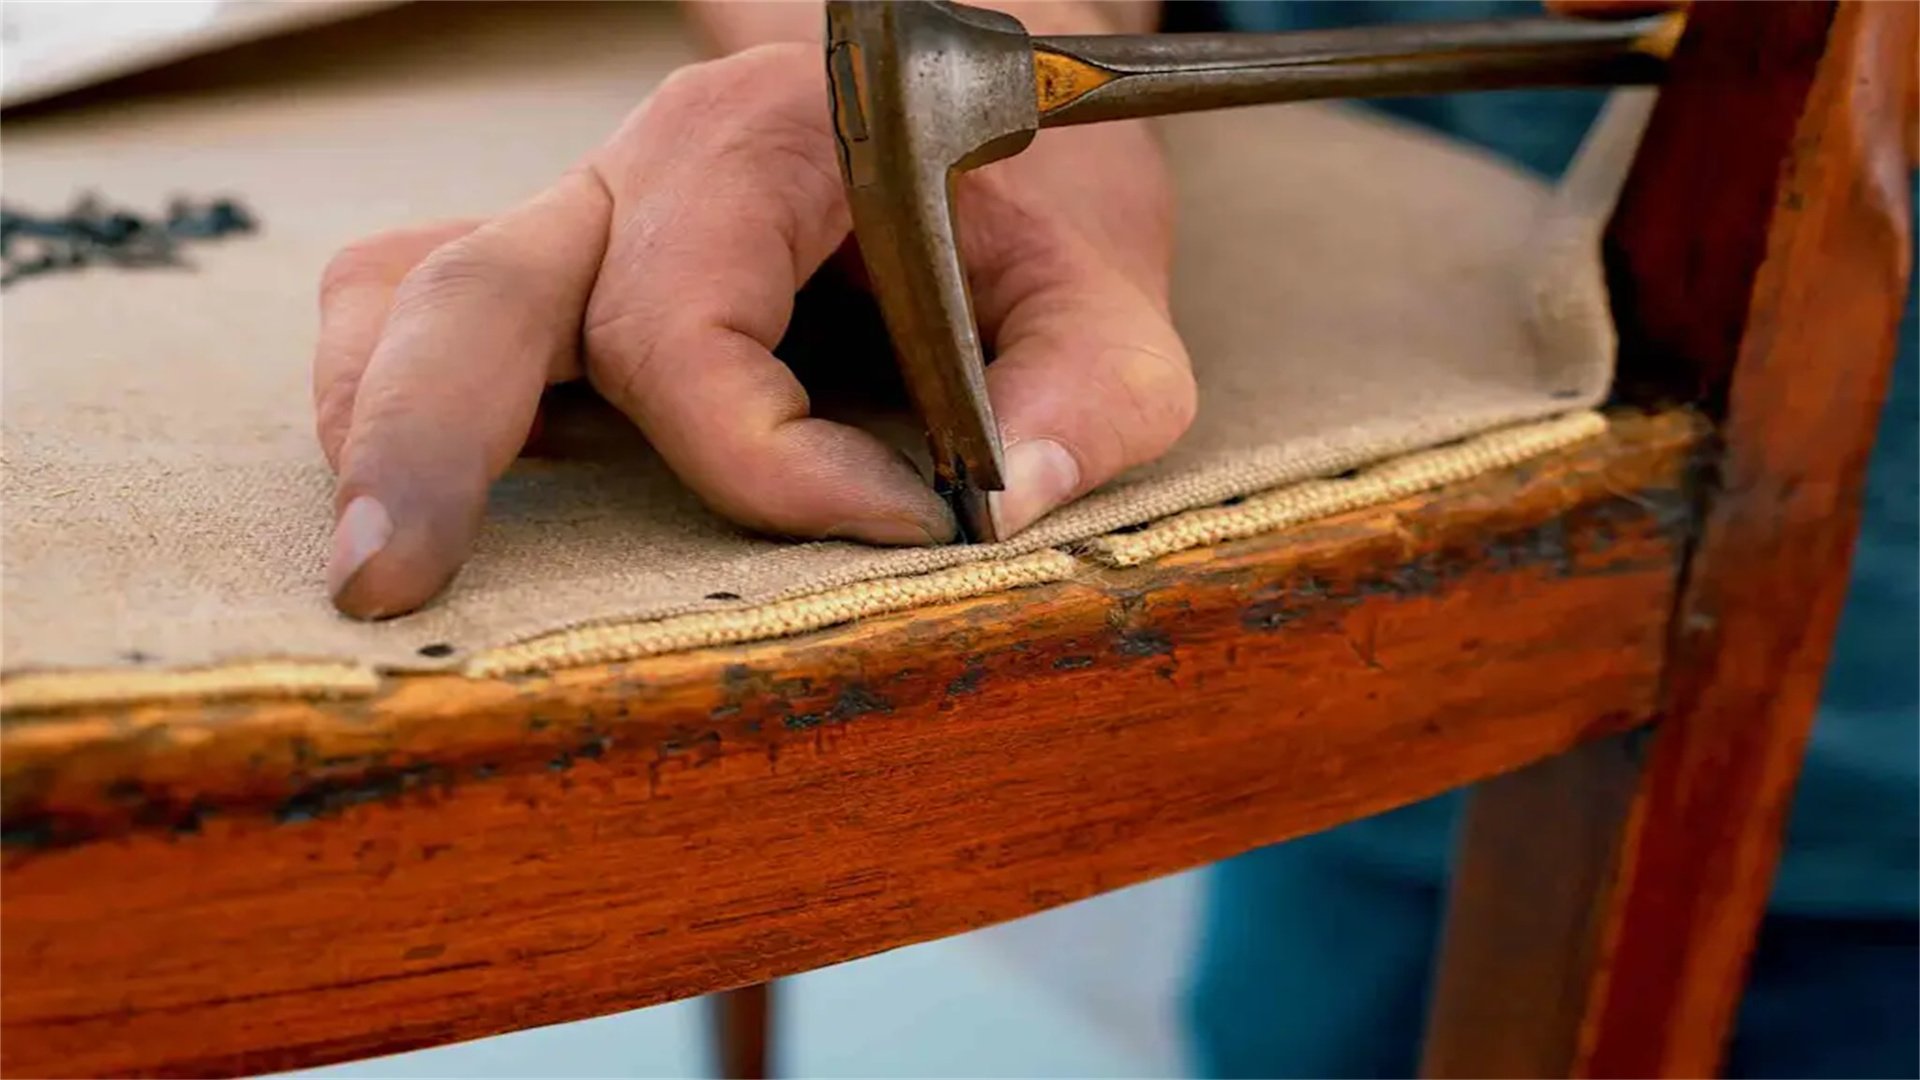
Adhesives are key for permanent repairs. Choose based on material:
Types of Adhesives
- Wood Glue: Best for wood. Apply thinly and clamp for strong bonds. Polyurethane glue expands slightly, filling gaps.
- Epoxy: For metal, plastic, or mixed materials. Two-part epoxy provides high strength. Mix as directed and apply to clean surfaces.
- Cyanoacrylate (Super Glue): Quick fixes for small cracks, but not for load-bearing joints.
Reinforcements
Reinforcements like brackets, corner braces, or dowels add mechanical strength. Install them symmetrically to maintain balance.
🛡️ Preventive Maintenance Tips
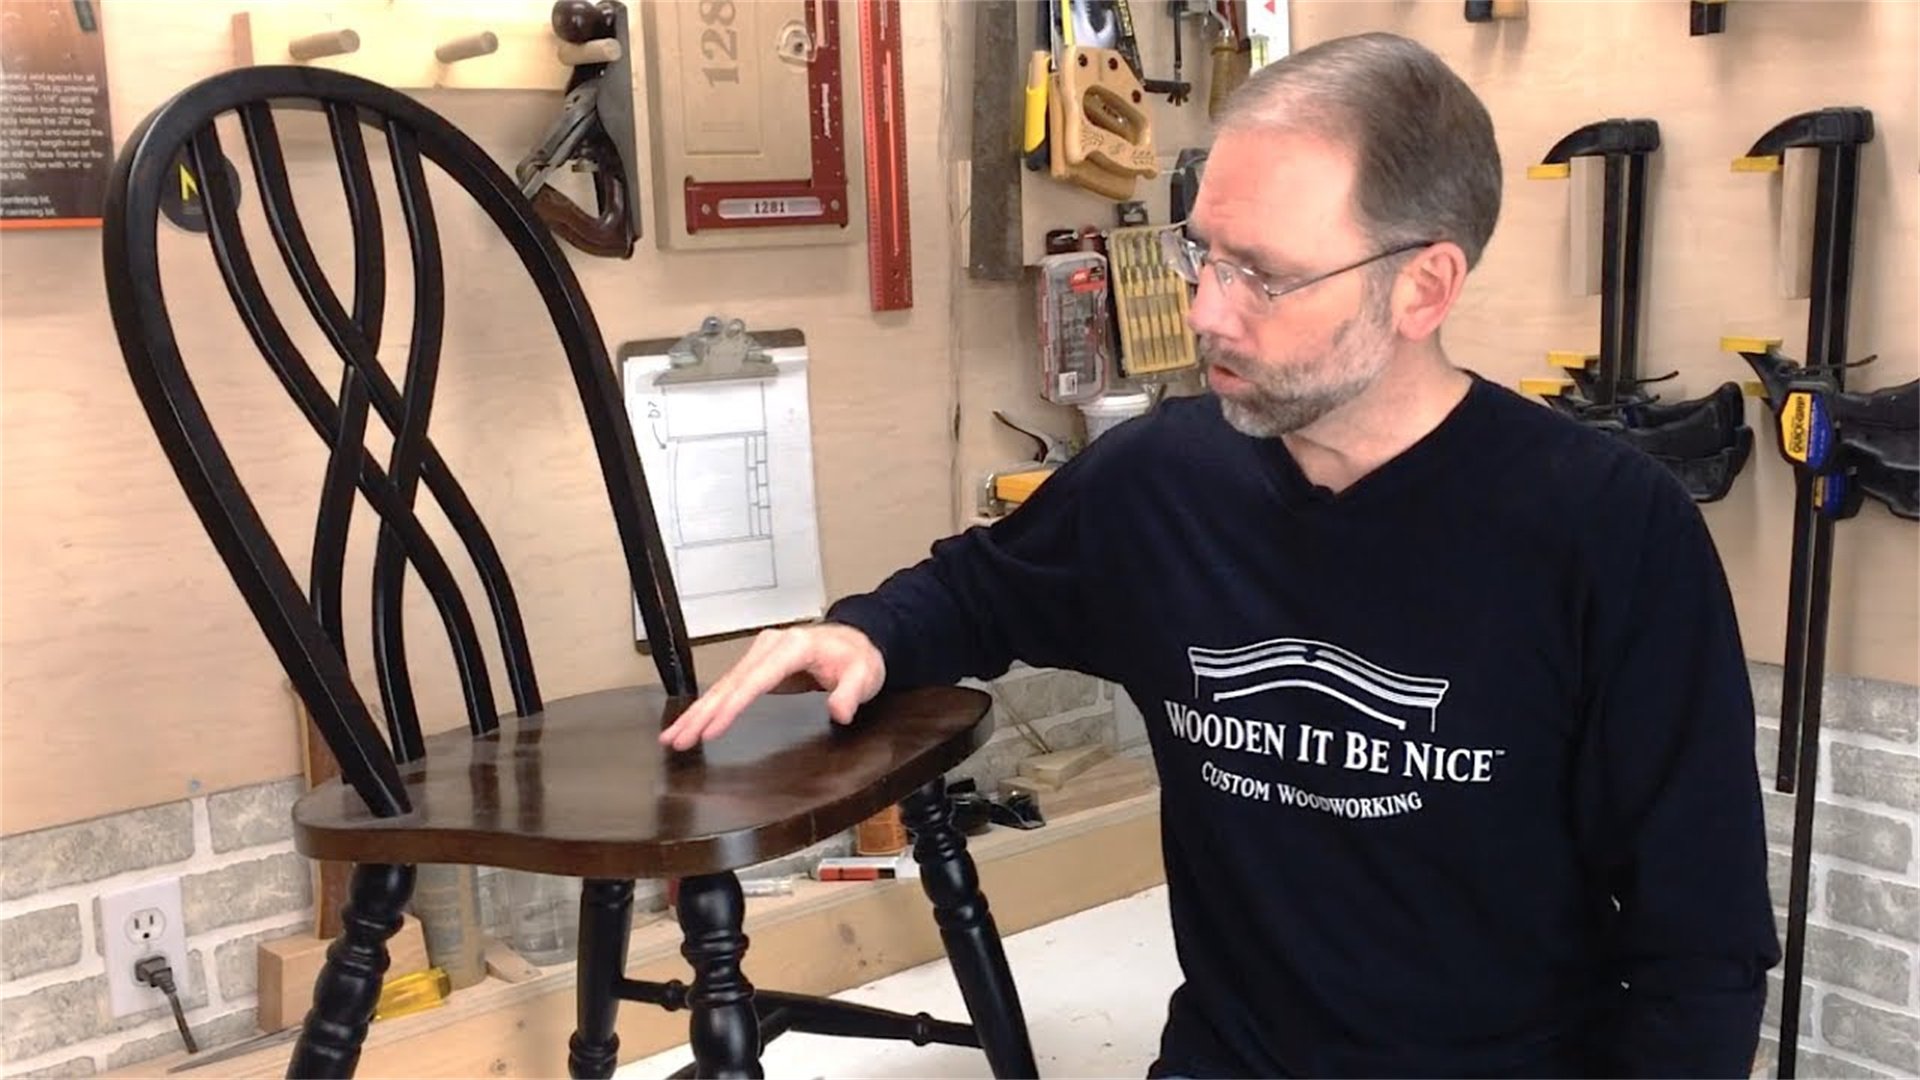
To keep furniture tight longer:
- Regular Inspections: Check chairs and tables every few months for early signs of loosening.
- Avoid Overloading: Don't exceed weight limits, especially for tables and chairs.
- Use Coasters and Pads: Protect surfaces from moisture and scratches that can weaken joints.
- Maintain Stable Environment: Keep humidity levels consistent to prevent wood movement.
- Tighten Hardware Periodically: As part of cleaning, give screws and bolts a quick tighten.
🔧 Troubleshooting Common Issues
Even with care, problems can arise. Here's how to handle them:
Common Problems and Solutions
- Stripped Screw Holes: Fill with wood filler, toothpicks and glue, or use screw anchors. For metal, tap new threads or use helicoils.
- Cracked Wood: Glue and clamp cracks. For severe cracks, use wood splines or replace the part.
- Rusty Hardware: Soak in penetrating oil, then clean with a wire brush. Replace if corroded.
- Uneven Furniture: Adjust legs or add shims. For tables, use a leveling kit.
📞 When to Call a Professional
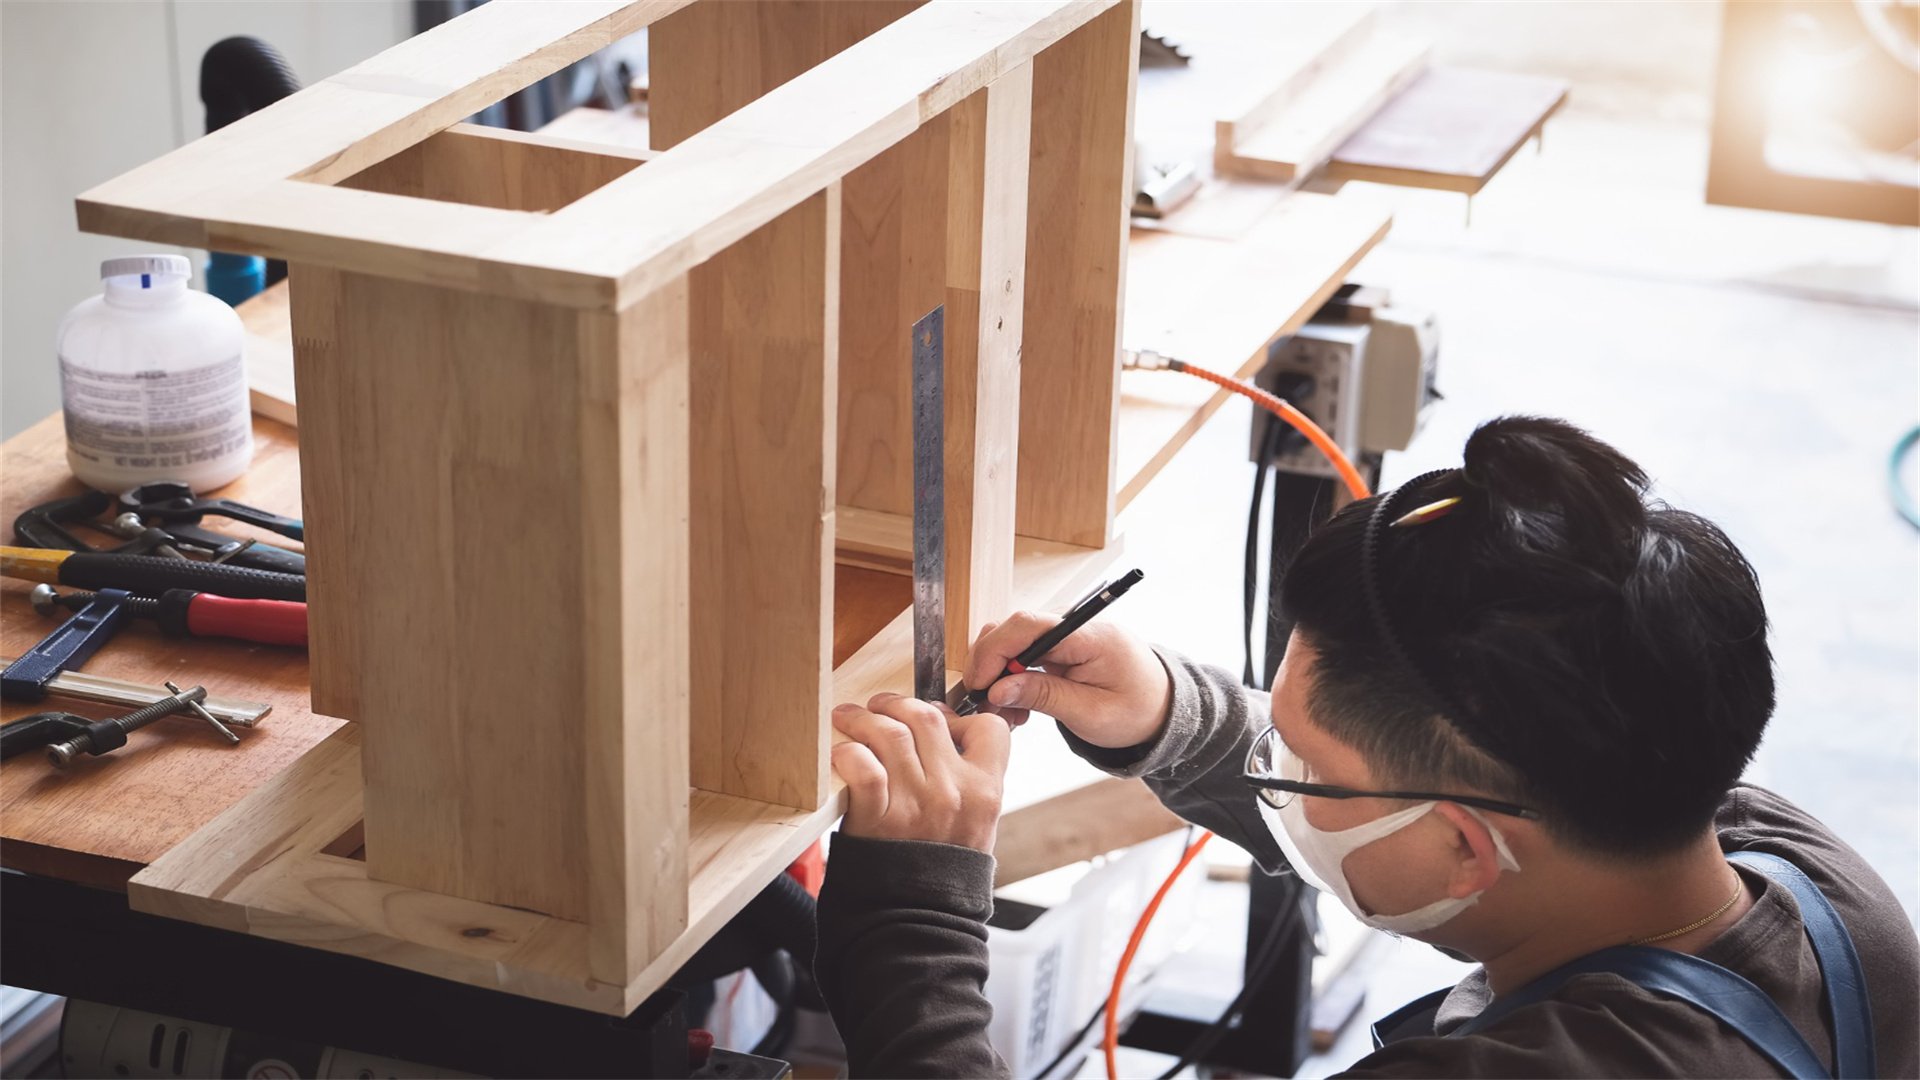
DIY has limits. Seek professional help if:
- The furniture is antique or valuable, requiring specialized restoration.
- Structural damage is extensive, such as broken frames or severe wood rot.
- You lack tools or confidence for complex repairs like welding or refinishing.
- Safety is compromised, e.g., chairs used by elderly or children with persistent wobbles.
Professionals can ensure repairs are done safely and durably.
🎯 Conclusion
Tightening loose chairs and tables is a rewarding DIY task that saves money and extends furniture life. By understanding causes, using the right tools, and following detailed steps, you can achieve stable, safe furniture in minutes. Remember to prioritize safety, be patient with repairs, and perform regular maintenance. Whether you're fixing a wobbly dining chair or a shaky coffee table, this guide provides the knowledge to tackle the job confidently. Embrace the DIY spirit—your furniture will thank you with years of reliable service.
For further reading, consult resources like Family Handyman, WikiHow, or manufacturer websites. Practice on less important pieces first to build skills. Happy repairing!